6. The best tools if you want the easiest blend
You can absolutely use your fingers for this, especially if you’re in a rush. The warmth of your fingertip helps melt cream and liquid products into the skin. My favorite finger for this job is the ring finger because it naturally applies a lighter touch, which matters on delicate areas.
If you prefer tools, a small synthetic concealer brush with a rounded tip gives very precise placement around the nostrils. A tiny damp sponge can also work, but I’d only use it for the concealer step, not the corrector. Sponges can sheer out the green too much before it has a chance to neutralize the redness.
7. Prep matters more than people think
If the skin around your nose is dry, flaky, or irritated, even the best corrector can look patchy. I always apply a lightweight moisturizer first, and if my nose is especially dry from weather or tissues, I’ll press on a rice-grain amount of balm and wait about 3 minutes before makeup. Then I blot off any extra slip with a tissue.
This step makes a huge difference in real life. When I skip prep, makeup tends to grab onto the crease where the nostril meets the cheek. When I take even 60 seconds to hydrate first, the whole area looks smoother and the redness stays covered longer.
8. How to make it last through brunch
Brunch sounds low-stakes, but it is secretly hard on makeup. You’re eating, drinking, laughing, maybe sitting outside, maybe wiping your nose after a spicy Bloody Mary or because the AC inside is too cold. Around the nose, makeup can wear away fast.
To keep this trick in place for 3 to 5 hours, use thin layers and press rather than rub during application. If you powder, use a very small fluffy brush and only set the crease beside the nostril and the outer edge of the nose. Too much powder can make the area look heavy by hour two. If I know I’ll be out longer, I toss a mini concealer into my bag for a 10-second touch-up.
9. The mistake that makes capillaries show through again
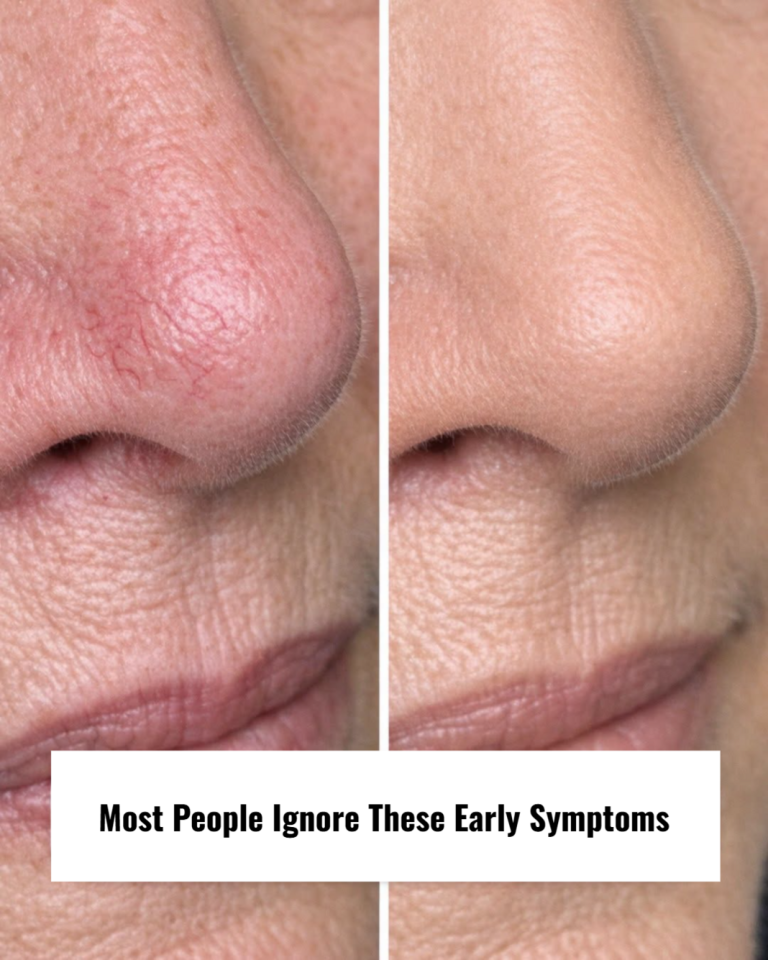
The biggest mistake is blending too aggressively after you place the concealer. If you swipe back and forth, you can lift the green corrector right off the skin and bring the redness back. Instead, tap and press. Think of it like laying product on top rather than scrubbing it in.
The second mistake is using full-face foundation first and hoping it will solve the problem. Sometimes foundation moves the redness around without truly covering it. If you correct first, foundation becomes optional. On casual days, I often do just corrector, concealer, a little mascara, and tinted lip balm.
10. How to choose the right shade of green for your redness
Not all facial redness looks the same. If your redness is light pink, use a soft pastel green. If it’s deeper red, especially in thin little lines around the nose, choose a slightly stronger green but still in a muted tone. Very dark green can be harder to cover and may leave a dull cast.
Test it in natural light if you can. I like to stand near a window because bathroom lighting can be wildly misleading. In my house, the overhead light makes me think I need more coverage than I actually do. Daylight tells the truth every time.
Continue reading by clicking the ( NEXT 》 ) button below!
11. What to do if you wear foundation
If foundation is already part of your routine, apply the green corrector first, then a small amount of foundation, then spot-conceal only where needed. This order matters. Corrector first neutralizes, foundation evens the overall skin tone, and concealer finishes the job without requiring a thick layer.
I’ve found that a light to medium coverage foundation works best here. Full-coverage foundation can be fine, but if it’s too matte or too fast-drying, it may disturb the corrector underneath. Give each layer about 20 to 30 seconds to settle before going in with the next one.
12. If you want an even lower-effort version
On truly hectic mornings, there’s an even simpler version: use a green-tinted anti-redness primer only around the nose, then tap concealer over it. It is slightly less targeted than a true corrector, but it’s fast and forgiving. This is what I do if I’m getting ready in under 10 minutes and also trying to pack snacks, answer emails, or find a cardigan because the restaurant will definitely be freezing.
The finish is usually more sheer, but for mild redness it can be enough. If your capillaries are subtle and your main issue is general pinkness around the nostrils, this shortcut may be all you need.
13. A few skin-friendly habits that help long term
Makeup can camouflage broken capillaries, but if your skin gets easily irritated, a few daily habits may help keep the redness from looking worse. I try to avoid rubbing the nose area hard when removing makeup, and I use lukewarm water instead of hot water when washing my face. Hot showers feel amazing in January, but my skin definitely looks angrier afterward.
Fragrance-free skincare, gentle cleansing, and daily sunscreen can also help reduce extra irritation. If your redness seems persistent, worsening, or tied to sensitivity, it can be worth checking in with a dermatologist. Sometimes what looks like simple redness is part of a bigger skin issue, and professional advice saves a lot of trial and error.
14. My sister’s final rule: stop when it looks good at normal distance
This might be the best beauty advice she’s ever given me. Don’t inspect the area from two inches away in a magnifying mirror and keep adding product. Step back. Look in regular light from a normal conversational distance, about 2 to 3 feet from the mirror. If the redness is softened and your skin still looks like skin, you’re done.
That perspective shift keeps the whole thing from becoming overworked. Especially for brunch or daytime plans, I want polished, not plastered. This trick works best when you treat it like a quick correction, not a full production.
15. The simple routine I use now before daytime plans
These days, this is my exact order: moisturizer, green corrector around the nostrils, concealer, a touch of powder, then the rest of my makeup. The nose step takes me about 1 minute, maybe 45 seconds if I’m moving fast. It’s one of those tiny routine changes that makes me feel more put together without adding any real time to my morning.
And honestly, I love that I associate it with my sister now. It feels very fitting for a National Sister’s Day brunch trick: easy, helpful, and passed along in that matter-of-fact way sisters do, like of course you should know this already. If redness around your nose has been one of those annoying little beauty frustrations, try the green-corrector method once. It’s simple, it works, and it’s about as close to zero effort as makeup gets.